Showing posts with label Paint. Show all posts

Tuesday, October 8, 2013

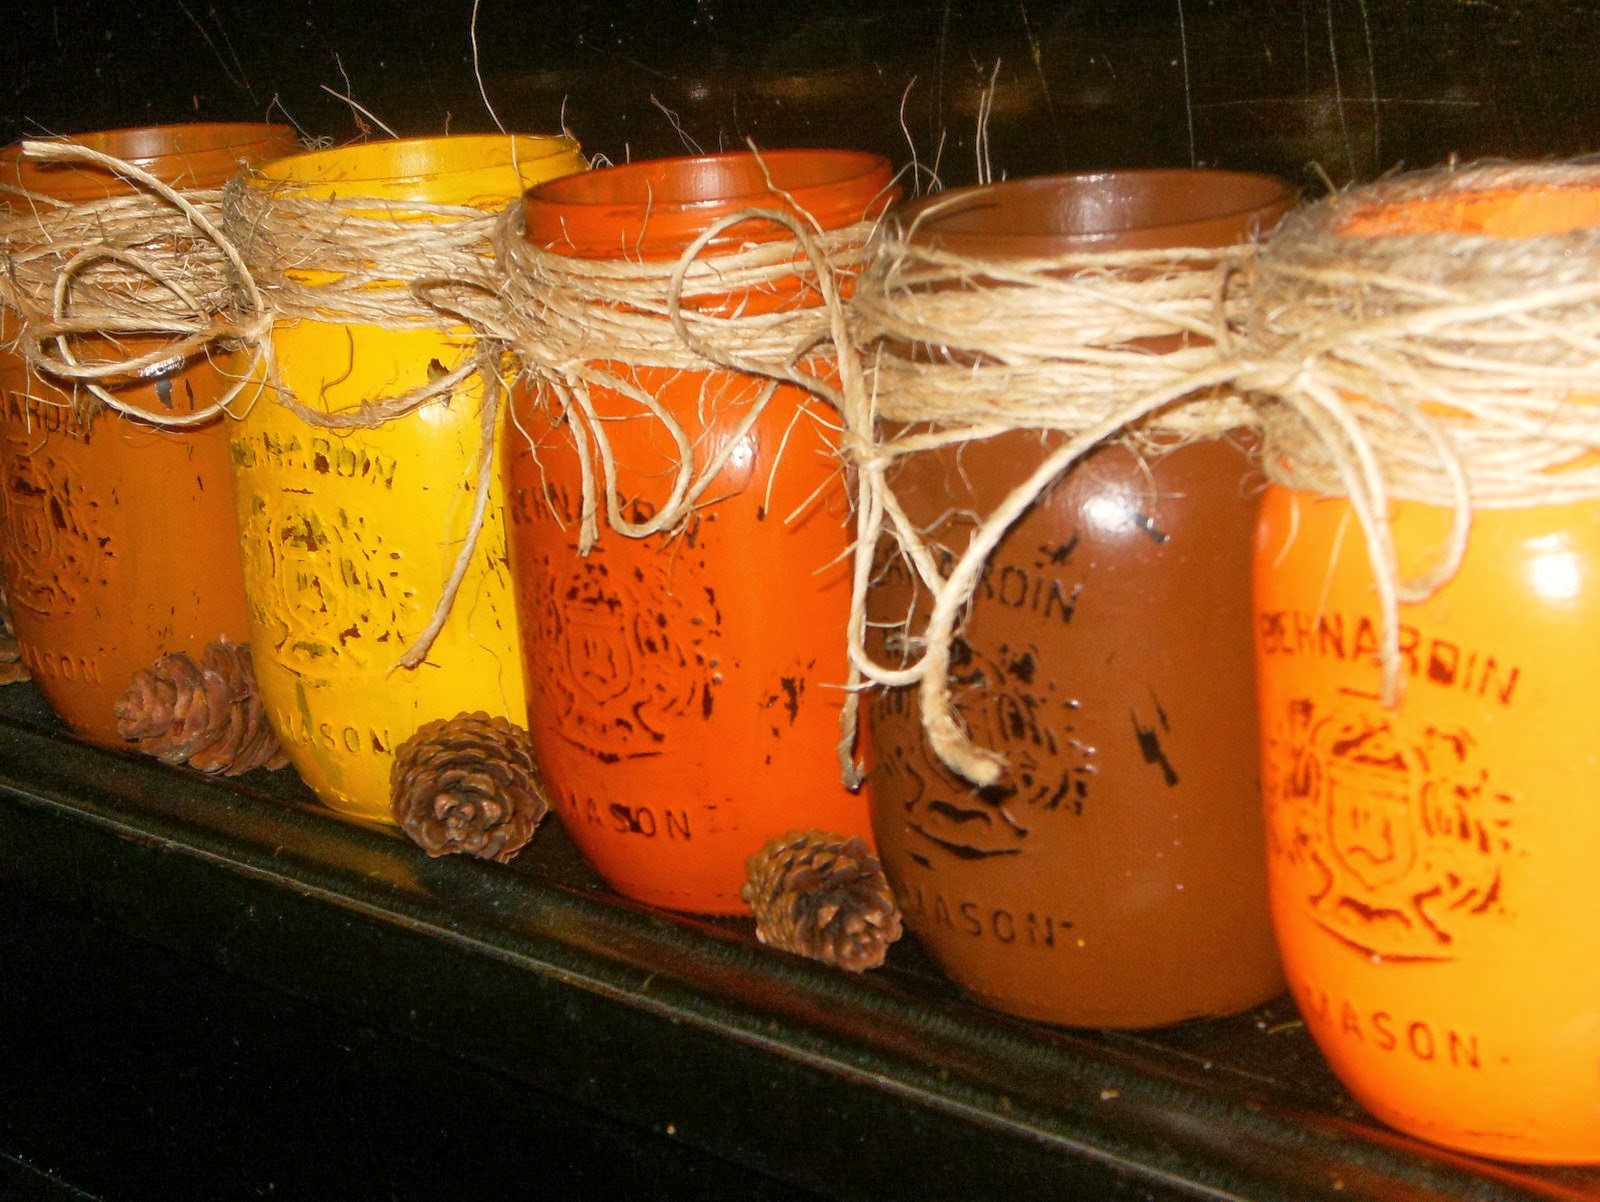
Fall coloured mason jars

      I often see a great deal of different uses for mason jars whilst surfing Pinterest and since I love painting so much I thought I'd give this little craft a try. 

We are in the midst of some gorgeous autumn weather here, so I was of course influenced by the beautiful fall colours.

I had a bunch of left over different size mason jars on hand from some previous artsy crafts I made so I was go to go with those.

I picked up about 5 of those inexpensive little paint colours from a couple of different local stores each bottle only costing about $2.00. But wow, are there a lot of colours to choose from!
  • Using some of my kids paint brushes and some I picked up at the dollar store, I gave each bottle a few coats of paint letting them dry for about an hour between coats.

  • Then thoroughly let them dry for several hours or even better overnight before sanding down the words and pictures on the glass as well as a few spots here in there to give them a somewhat aged look.

  • I used 100 grit sandpaper, but could have even used an emery board.

  • Then I slapped on a  couple coats of  Modpodge in a matte finish.  Letting it dry about 20 - 30 mins. between coats.

  • Lastly I wrapped several layers of twine around the top.

So easy peasy and fun they were, that I have now started working on some Christmas colours.
Posted by Picasa

Sunday, April 15, 2012

KITCHEN RENO

BEFORE SHOT
Here is a shot of our kitchen before, well one side of it anyway.

BEFORE


 AFTER SHOT
...and voila, the after.  Counter tops still need to be changed ideally to butcher block to match our Ikea counter cabinet on the other side of the kitchen.   As well, the walls need to be painted and the floor, sink, faucet, lights all need to be changed.  The list goes on and on, but over all this is a pretty good start.

AFTER


AFTER

HARDWARE

NIFTY HANDLES

I really wanted branch shaped wrought iron hardware for the handles that I once saw at Lee Valley Tools on line, but when I went back recently to search for them again, I couldn't find them.  So I opted for these little wrought iron cuties instead, which I found at Home Depot & Rona.  They are a huge step up from the green plastic hardware that was on the cupboards when we bought the house.

A CHALKBOARD TOO!
 And in this little nook I've made a chalkboard!  With a little chalkboard paint and some some m.d.f. anything can happen. :-)


There were 16 steps to refinishing each & every drawer and cupboard door.
Maybe there is simpler way but I wanted to be sure the wood grain still showed through and I didn't want (after all my hard work) anthing to get marred up.  So, this is how I did it.
1. Remove door or drawer and its hardware.
2. Sand each side down to rid it of any sheen.
3. Vaccume each side.
4. Wash each side with a solution of  TSP.
5. Rinse each side with warm water to remove the TSP solution.
6. Dry each side with towel and let air dry for a bit.
7. Paint front side first & let dry for 2 hrs. (as stated on the can, it takes 2hrs to dry to touch and 4hrs before recoating).
8. Flip over and paint back side - let dry 2hrs. then flip again and do the front side again.
9. Repeat steps 7& 8 until you have painted the back side with 2 coats and the top side with 3 coats.
10. Let dry to touch aprox 2hrs.
11. Re-attach the doors to the cabinet.

Note; I was doing to 2 -3 doors/drawers at a time and set a timer to go off every two hours.