Saturday, March 22, 2014

BATHROOM MAKEOVER


We've been in our home for just  a wee bit over 6 years now and I've never bothered to give the bathroom any loving redo's.  Even though I have painted some other rooms 2 or 3 times over, I guess I always thought the bathroom colours were fairly tolerable ...with the exception of the cheapo, most cheapest faucet in all the land, I just couldn't stand it anymore and all its grime. 

OLD BATHROOM


The taps that started it all
So we were at Lowes one day and taps were on sale, so we finally took the plunge and bought a new one.  Hubby put them in - which seemed like a grueling task all on its own and I am very grateful not to have had to do that part.  But now with these beautiful taps and all their shinny newity, it just got the ball rolling and the rest of the bathroom just HAD to be done. 

Putting up the beadboard


Daddy's little helper


With the exception of the taps, a couple cans of paint and that awesome rope that I got a big ol' discount on from Home Hardware, I didn't really need to purchase much of anything.  Most of the items I had on hand that were used in             various other areas of the house.


BEFORE & AFTER


I built and added this shelf above the toilet to hold extra towels.  For extra support I added two L brackets attached to both the shelf & wall which are hidden behind the towels.

Some nautical photos I took last year when we to see the tall ships.


Boat shelf found at Winners for $7.00 is a great place for body creams.

$6.00 find at Winners - Love it!
$3.00 at Winners a few years ago.
An old clock that I thought needed a little rope for a more nautical feel.


When we first bought this house every room only seemed to have the very bare essentials ie; no towel bars, no toilet paper holder and no bathroom storage. So I purchased a couple of  small wood shelf cabinets from Sears Clearance to hold bathroom odds & ends.  They looked pretty good in the beginning and did the job, but after a few years the brown paint started chipping off, so I decided to sand them both down and give them a couple licks of paint in the same creamy white colour I used on the beadboard.  So far they look pretty good and the colour blends in much nicer with the walls.  


This drawer table was purchased from Sears clearance many years ago when we first moved into the house.  I sanded it down and gave a couple licks of paint the same white colour as the beadboard.


An old used paddle I bought at garage sale for a dollar or two.  I painted it up and thought it made a cute sign pointing towards the direction of our beach.
  
It's still a work in progress.  A real life-size family of 5 vanity to be eventually purchased to replace the Barbie size one that is in there now.  New flooring is on the list as well, hardwood flooring and of course the shower is a scary, hidden secret not to be shared at all,  but for now the rest of the 'privy' looks a little more loved with a coastal-cottagy look to it. 

Friday, March 7, 2014

WOODEN TRAY MAKOVER


I have had this tray on hand from many years but never used it. My grandmother and I stumbled upon it at Winners one day so we bought home to her place where she kept it on a small table and had it propped up against the wall below the matching plates that we acquired on one of our MANY other visits to Winners.
Since her passing, it has been at my place serving even less of a purpose so I decided to give a makeover.


It wasn't too difficult, just a light sanding all over to scuff up the paint.
Then some leftover white trim & door paint I had.
Cut 2 pieces of my favorite rope to use as handles and hot glued them in place.
Painted up some wooden rope trim to match, cut it to size and attached with No More Nails adhesive.

I still thought it needed a wee bit more contrast so I gave the inside another coat of paint this time using left over pale blue bathroom ceiling paint. I'd still like to get some metal cuffs to go around the bottoms of the rope, but I just can't seem to find them anywhere.  Anyhoodles, here you have it, as is for now - before...and afer...


Wednesday, February 26, 2014

BATHROOM SIGNAGE


I hummed and hawed for the longest time what to write on my bathroom sign, so for the longest time it just hung there empty.  No one ever asked about it, why I had a blank sign hanging in the hallway outside my bathroom door which kind of puzzled me, but anyway I finally took a stab at it today.


  I can't say that I'm completely satisfied with it, but I'm picky that way, however, for my first try it's not too bad.  Besides I still have the other side to tinker around with a different more fun approach.

Here's how it all unfolded;

I picked up this great plant hanger for about $6. on clearance at Lowes last September.

The wood slab I got from Michaels, but if your brave enough with a chainsaw, I'm sure you could cut your own slices - probably many!

The black chain & eye hooks I had on hand, although I did have to spay paint the eye hooks black as they were a chrome colour to start with.  
The botttom of a good ol' Timmys coffee came in handy for that!

The Letters are vinyl sticky ones I got at Michaels as well.  I stuck them on and peeled them off several times until I was semi-satisfied with the look I wanted.

Then I traced the outline of the letters with a pencil, peeled them off and carefully coloured them in with a black Sharpie!


I let the Sharpie letters dry & soak into the wood for about 30 mins so they wouldn't smudge.  Then I dabbed on some Minwax Polyshade in a Traditional Oak colour.  I dabbed & very gently rubbed the Stain in, so as to not disturb the marker, I was afraid it might bleed & smudge somewhat.   I only did one coat since I achieved the colour I wanted.

Minwax® PolyShades®
AND TADAAA... FINITO!  

The great part is I still have a blank canvas on the other side of the board to do a completely different look with. Hmmmm, the possibilities are endless  The Loo, The Privey, Bath, Le Bain ....and on and on and on.

Tuesday, February 18, 2014

Today is my birthday?

FEBRUARY 18th, 2014

Yup, today is my birthday.  'Whaaaat", you say, "again?"  No, wait a minute maybe that's not you saying that, maybe that's those voices in my head speaking to me and asking: "how does this keep happening,  I swear I just had a birthday last year!"

My birthdays in the past were always a big deal...well for me they were anyway.  It was practically a month long event. but that's probably because I come from a split family so we celebrated no a couple different dates.

Today, was just like any other day.  I got the kids up, fed, dressed, lunches made, backpacks stuffed and off to meet the bus.  Then I shoveled the driveway, did dishes, vacuumed, laundry'd, tended to my little four year olds needs, wants and temper tantrums, or at least I tried to anyway, then by about 2 I as contemplating what to make for dinner and so on.  It was a typical day of endless chores, not fun at all, but it doesn't matter, because really there's no place I'd rather be. I have learned from the past too expect little and you will not be disappointed and even more importantly, too be grateful for all that you already do have!

It's a Tuesday, so my husband works a double shift today into tonight.  He flies in at about 4 then flies back out again after grabbing his dinner-to-go that I've made for, but on the way home he stopped into Sobeys to get me a little cake and a card which he and the kids all signed, then we sat down, he lit the cake, they all sang happy birthday.  And within seconds, I was back to feeding the kids and the dog dinner and he was flying out the door again off to his other job.

Now a days, I have so many other (more important) birthdays all around the same time as mine, that my day is not so much a big deal anymore.  That and the fact that my husband and I don't have spare dime to spend on presents for each other, so it's just cards and a little cake.

I do appreciate all the many Facebook wishes I get from people, it kind of makes me feel a little special - so thank you to all of you for taking the time to send a quick wish in my direction, its nice to be able to connect with so many of you - sort of like a Facebook birthday party!
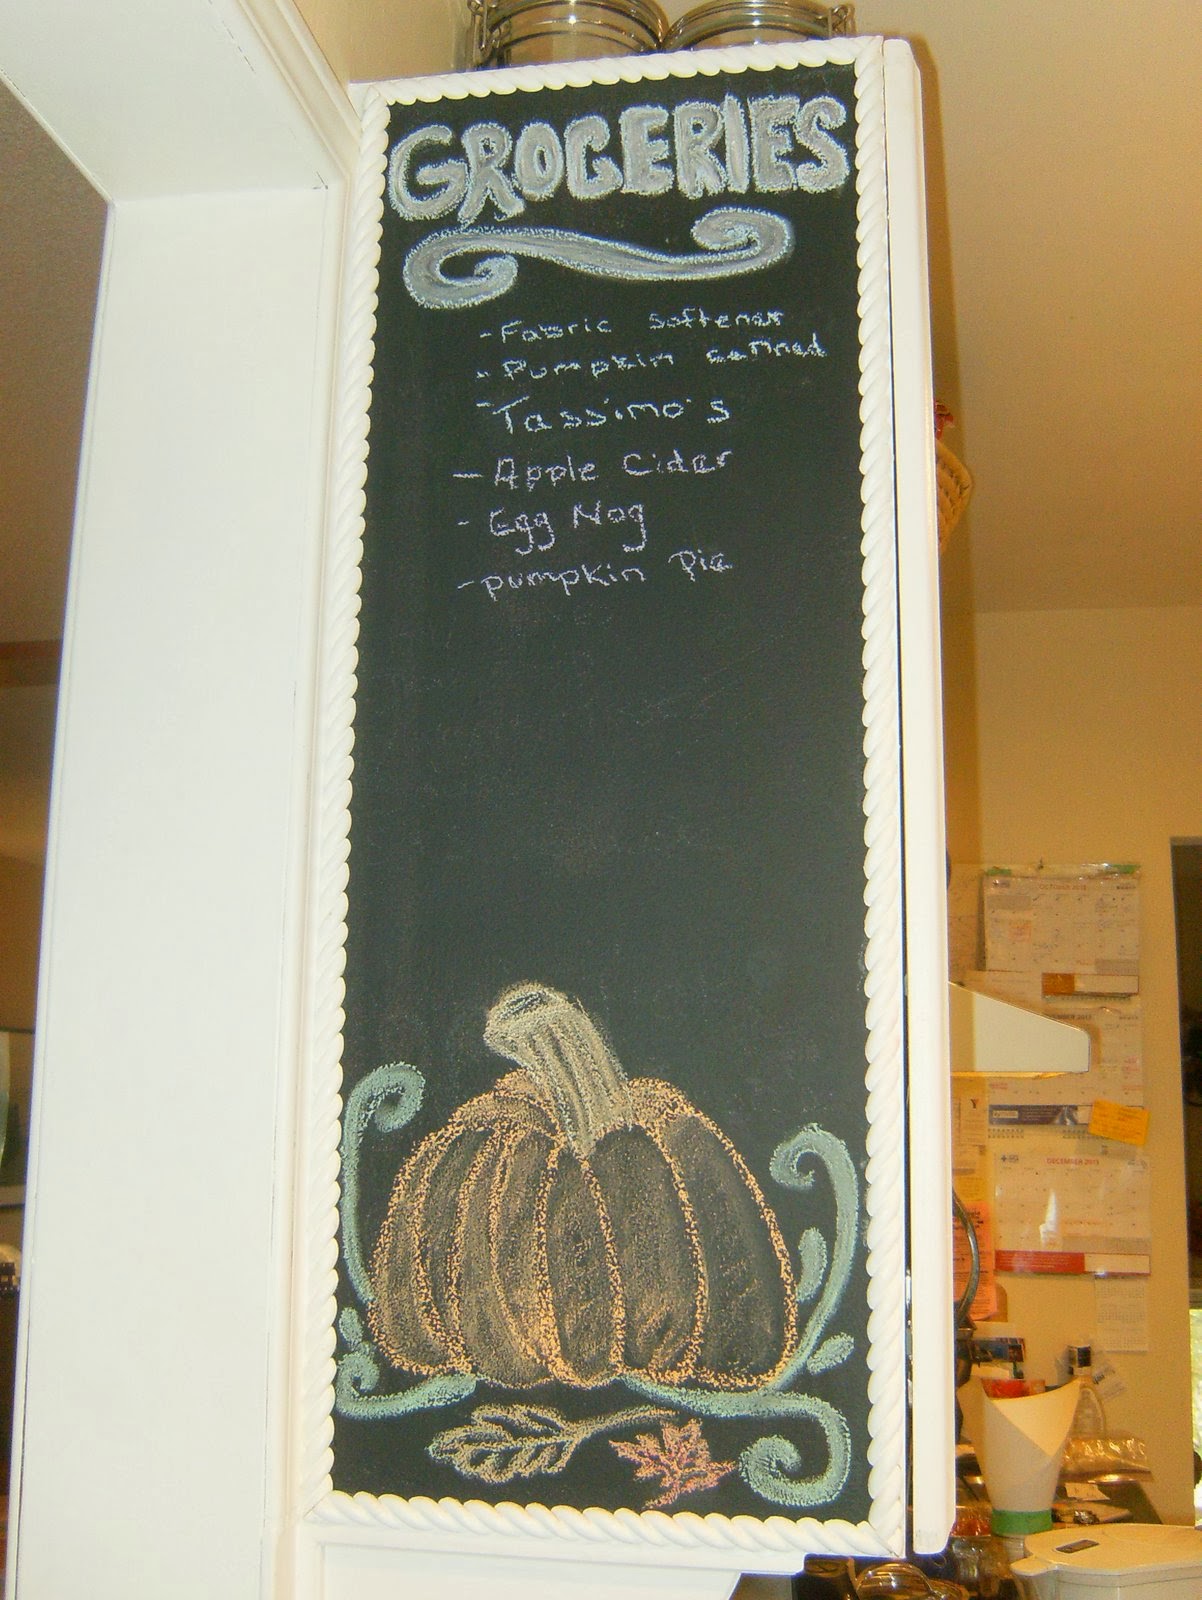
MY BIRTHDAY CARDS


So cute!  Is someone trying to be funny....implying this is the only kitten
 I'm going to be getting? :(.
True sweetness!

My wee ones enjoying more cake & ice cream.

SLAINTE - CHEERS, TO MY FAMILY!
Awww, such is life.  I think we all love getting material presents, they are fun, little surprise's that people put thought into!  But for me the greatest gift of all is my family, my friends and having times spent together laughing, eating, drinking and having fun.  My birthday wish for them is that they continue to stay healthy and stress free.   I love my home and where we live and feel very blessed to have so much.  There is no place I'd rather be.


Thursday, October 10, 2013

Chalkboard side cupboard

Notice the little hands that like to help. 
      I finally got around to putting a chalkboard canvas with some cool wooden rope trim up on the end side of my kitchen cupboards last week. 

Today I decided to add a little fall decor to it.
Ta Daaaa
Posted by Picasa

Waiting for the school bus


Waiting for the school bus this morning was picturesque.  I couldn't help but take the camera out with us and get some shots of the kidlits (and Shamrock)waiting.


Posted by Picasa

Tuesday, October 8, 2013

Fall coloured mason jars

      I often see a great deal of different uses for mason jars whilst surfing Pinterest and since I love painting so much I thought I'd give this little craft a try. 

We are in the midst of some gorgeous autumn weather here, so I was of course influenced by the beautiful fall colours.

I had a bunch of left over different size mason jars on hand from some previous artsy crafts I made so I was go to go with those.

I picked up about 5 of those inexpensive little paint colours from a couple of different local stores each bottle only costing about $2.00. But wow, are there a lot of colours to choose from!
  • Using some of my kids paint brushes and some I picked up at the dollar store, I gave each bottle a few coats of paint letting them dry for about an hour between coats.

  • Then thoroughly let them dry for several hours or even better overnight before sanding down the words and pictures on the glass as well as a few spots here in there to give them a somewhat aged look.

  • I used 100 grit sandpaper, but could have even used an emery board.

  • Then I slapped on a  couple coats of  Modpodge in a matte finish.  Letting it dry about 20 - 30 mins. between coats.

  • Lastly I wrapped several layers of twine around the top.

So easy peasy and fun they were, that I have now started working on some Christmas colours.
Posted by Picasa

Saturday, September 7, 2013

DRIFTWOOD LAMP

I saw a similar lamp in a magazine once whilst at mother in laws for a visit.  It was the exact same IKEA lamp I already had so I was immediately inspired to make one myself.

BEFORE     &    AFTER
First I spray painted the metal base white.
Then I went to my bag of driftwood odds & ends and glue gunned them on, which was a little tricky  getting the placement just right.
After that I gave the branches a whitewash of paint a couple of times.
Then decided the lampshade needed a bit of rustic flair so I glued on some rope.
And voila!

I'm still not really sure how I feel about it as I think the one in the magazine looks nicer, but anyhoodles, I gave it shot.


HOME MADE ART


I had these three Ikea art frames with prints in it, but the prints were too small and never looked right.  So I got some inspiration to make some new artwork from a few sprigs of nature, some white bristol board, a can of low tac spray adhesive and a can of spray paint for Home Hardware.


1) Find some natural inspiration - I used ferns, tall grass & a pine tree branch.
2) Cut the bristal board to the size of the frame
3) Centre that matt board on the bristal board and lightly trace the inside with a pencil then remove matt.
4) Spray the back side of the fern (for example) and stick it lightly to the bristol board so it doesn't fly off when your spray painting it.
5) Centre the fern & arrange it in the inside square of the matte to your liking and then spray paint lightly to get the outline.
6) After drying put the matt board and print back into frame. 
Stand back, look and be proud of your artwork.

And voila... kind neat wouldn't ya say?...or maybe nay?

Question for ya'll:  See those lamps there?  Would you spray paint the bases a kind of wrought iron black colour or leave them as is?


FROM TABLE CLOTH TO CURTAINS

You just never know.

I LOVE this table cloth I found at Winners but when I put it on the table it just was't getting the ewww & ahhhh factor that it so deserved.  So, I decided perhaps it might look better hanging as curtains  - and that it did!  Although you can't really tell from this photo.